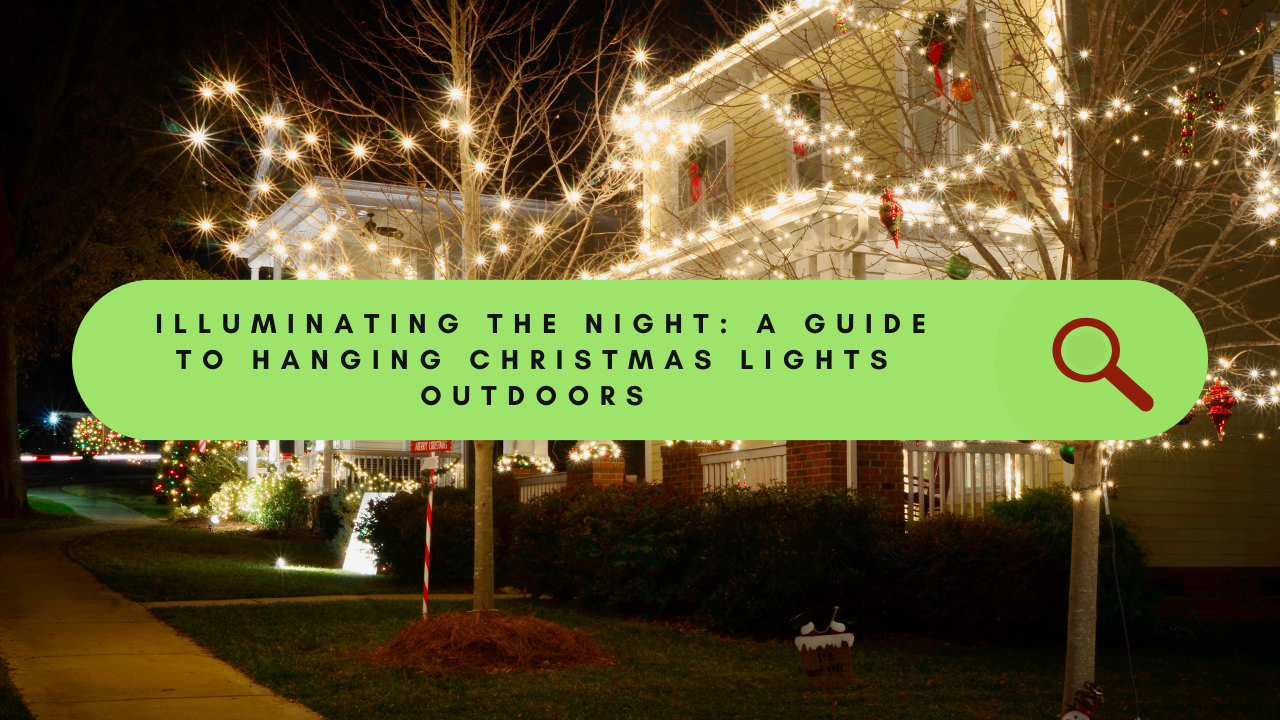
The holiday season is upon us, and one of the most enchanting traditions is adorning our homes with twinkling Christmas lights. Whether you’re a seasoned decorator or a first-timer, mastering the art of hanging lights outside can make your home the star of the neighborhood. In this guide, we’ll explore the best way to hang Christmas lights outdoors, ensuring a festive and safe display that will leave your neighbors in awe.
- Plan Your Design: Before you start climbing ladders and untangling strings of lights, take a moment to plan your design. Consider the architectural features of your home, the landscaping, and any focal points you want to highlight. Sketch out a rough design to guide you during the installation process, ensuring a cohesive and visually appealing display.
- Gather Your Supplies: To execute your outdoor light display successfully, gather all the necessary supplies. You’ll need Christmas lights (LEDs are energy-efficient and long-lasting), extension cords, outdoor clips or hooks, a ladder, and possibly a timer for automated control. Make sure all your equipment is in good working condition to avoid interruptions once the lights are up.
- Check Safety Guidelines: Safety should be your top priority when hanging Christmas lights outdoors. Inspect each strand of lights for frayed wires, damaged sockets, or missing bulbs. If you spot any issues, replace the faulty components before installation. Additionally, ensure that all electrical connections are weatherproof and use outdoor-rated extension cords to prevent hazards.
- Measure and Test: Measure the areas where you plan to hang your lights to determine the length of each strand. Avoid overloading circuits by checking the wattage and amperage ratings of your electrical outlets. Test each strand of lights before installation to identify any malfunctions, saving you time and frustration later on.
- Start with the Basics: Begin by installing the lights on the most prominent features of your home, such as rooflines, eaves, and windowsills. Use outdoor clips or hooks to secure the lights in place, making sure they are evenly spaced. For trees and shrubs, consider wrapping the lights around branches for a professional and polished look.
- Accentuate Key Areas: Once the basic structure is in place, focus on accentuating key areas. Highlight architectural details, such as columns or peaks, and create a warm and inviting entrance by framing doorways with lights. Don’t forget about fences, gates, and pathways to extend the festive ambiance throughout your outdoor space.
- Create Depth and Texture: Add depth and texture to your display by incorporating different types of lights and decorations. Mix in garlands, icicle lights, and net lights to create a dynamic and visually interesting arrangement. Experiment with color combinations to match your personal style or the overall theme of your holiday décor.
- Use Timers for Convenience: Make your life easier by investing in outdoor timers for your Christmas lights. Timers allow you to automate the on/off schedule, ensuring that your display is consistently illuminated during the designated hours. This not only saves energy but also adds a touch of magic as your home twinkles to life each evening.
Hanging Christmas lights outdoors is a delightful way to spread holiday cheer and create a festive atmosphere. By planning your design, prioritizing safety, and incorporating creative touches, you can transform your home into a winter wonderland that will be the talk of the town. So, grab your lights, gather your supplies, and let the decorating magic begin!


 Facebook
 X
X
 Pinterest
 Copy Link
